Sometimes you’re sure there’s enough water, but you can’t easily get as much water out of your tap as you need. . Most people have never heard of tap aerators, even if they have one. Let’s see what aerators are, what types there are, and how to remove the bathroom/kitchen tap aerator and replace the tap aerator.
What Is a Tap Aerator?
A tap aerator is also referred to as a tap, a flow regulator, or a pressure regulator that can be added to your faucet or placed inside the tap’s spout and are simple to install. Today a faucet or tap aerator can be found at the tip of most indoor water faucets like kitchen and bathroom, shower heads, hot tubs, hose and pond pumps. Aerators and flow regulators are used to ensure a constant water flow that is unaffected by pressure fluctuations.

Tap (faucet) Aerators
Why Do You Need a tap Aerator?
Tap aerators have a range of benefits:
- Prevent splashing
- Reduce tap noise.
- Improve water pressure
- Reduce energy cost
- Filter and remove debris
Types of Tap Aerators – Which type should I choose?
When looking for your faucet aerator, bear in mind the following as not all aerators are the same.
Threading:
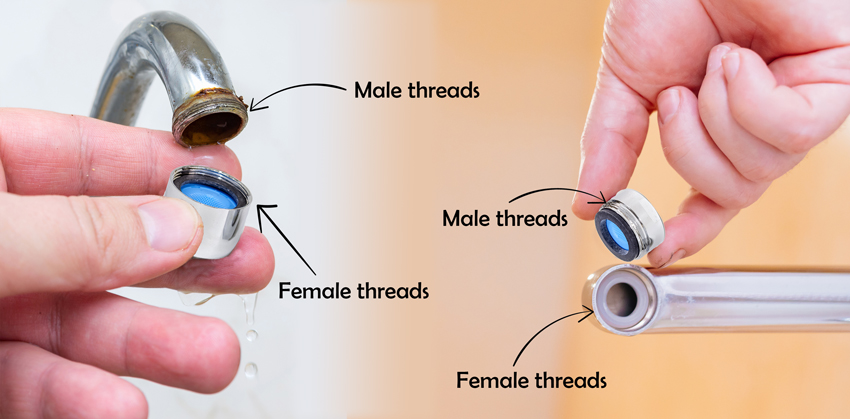
There are “male” and “female” aerators. Your faucet will determine which one you need. If your faucet has Male threads, you need an aerator with Female threads. If the threads are inside the faucet, look for an externally threaded aerator.
Use:
Different types of water aerators come with different levels and uses.
- Lower-volume aerators are a good choice for washing hands or dishes (typically 0.5-1.0 gallons-per-minute)
- Higher-volume aerators is perfect if you need larger volumes of water (2.2 gallons-per-minute).
Style:
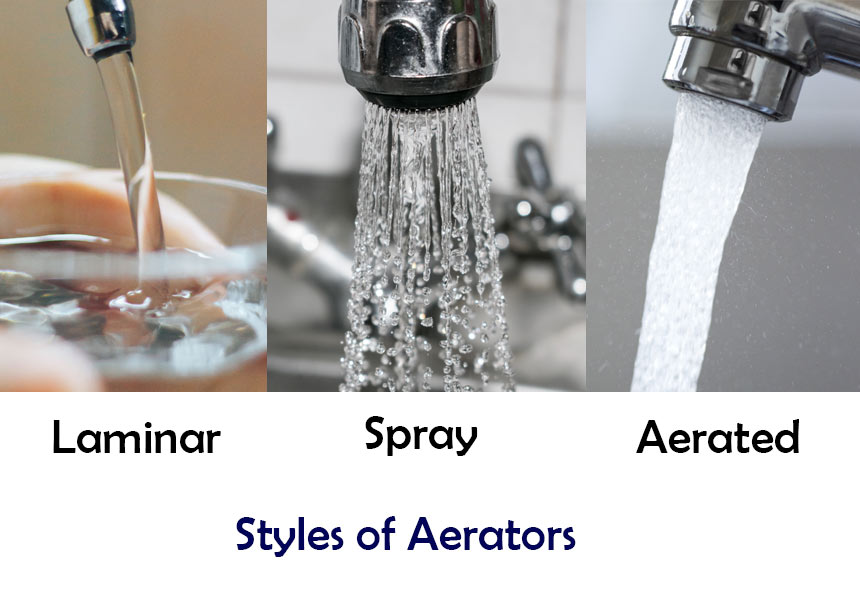
Aerators come in 3 main styles: Aerated, Spray and Laminar. Aerated streams blend air and water to create a bigger, whiter flow that doesn’t splash. Typically seen in public toilets, spray aerators offer a small shower pattern to ensure complete, splash-free coverage during hand washing. A laminar stream creates a stream of water without any oxygen. High flow applications benefit greatly from this particular stream. Your preferred style will depend on the primary use of your tap.
Size:
Aerators are available in three different sizes: Regular, Junior or Small size, and Tom Thumb size. The Regular size is the largest and the housing is the size of a nickel, whist the Junior size is the size of a nickel. Lastly if your aerator is approximately the size of a penny, you’ll need a Tom Thumb size aerator.
Replacing the Tap Aerator
If you have a damaged aerator, you will need to replace the aerator. When choosing a replacement, be sure to measure the faucet for the right aerator. Our plumbing engineers can help you with general plumbing service. Once you’ve found and purchased a new aerator, follow these steps for tap aerator replacement.
Tips What's The Best Way?
What You’ll Need:
- Plier
- Towel
- Toothbrush
tap aerator replacement Instruction:
The following steps should help you replace a new faucet aerator
Step1: Remove tap aerator ( the Old Aerator )
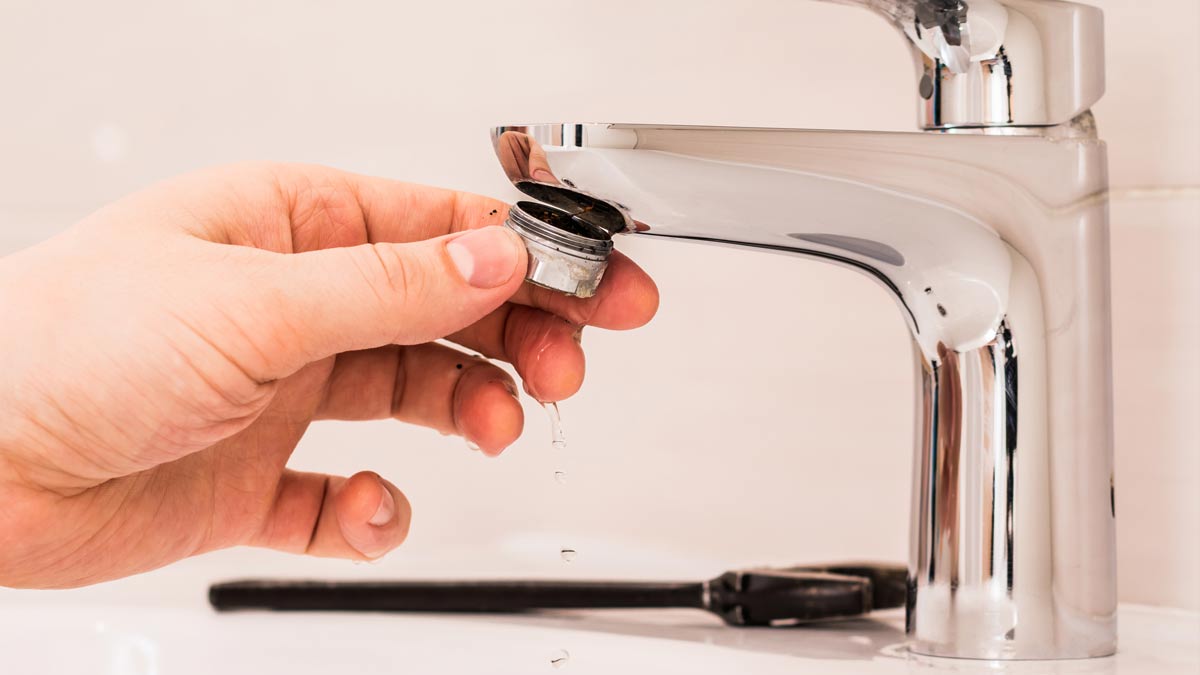
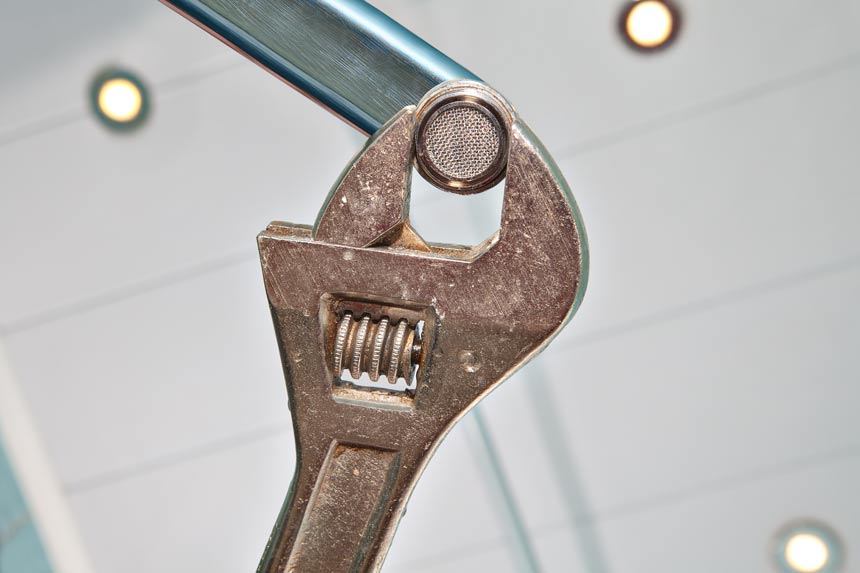
If the faucet has an aerator, it will be located at the end of the faucet. Try twisting the end of the beak by hand or with a pair of pliers wrapped in rags. Old, clogged aerators cause water to spew slowly or at odd angles. If the aerator cannot be removed, the faucet must be replaced.
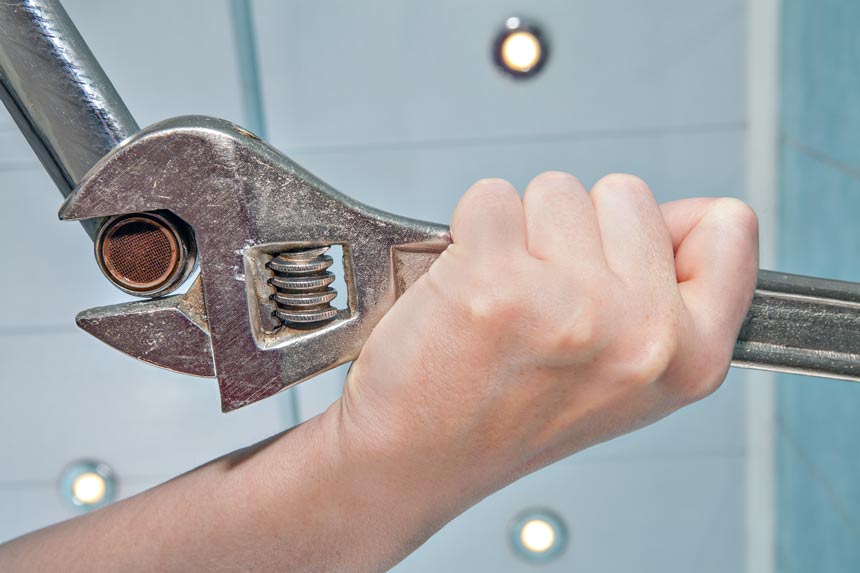
remove kitchen tap aerator
Step 2: Clean the Tap
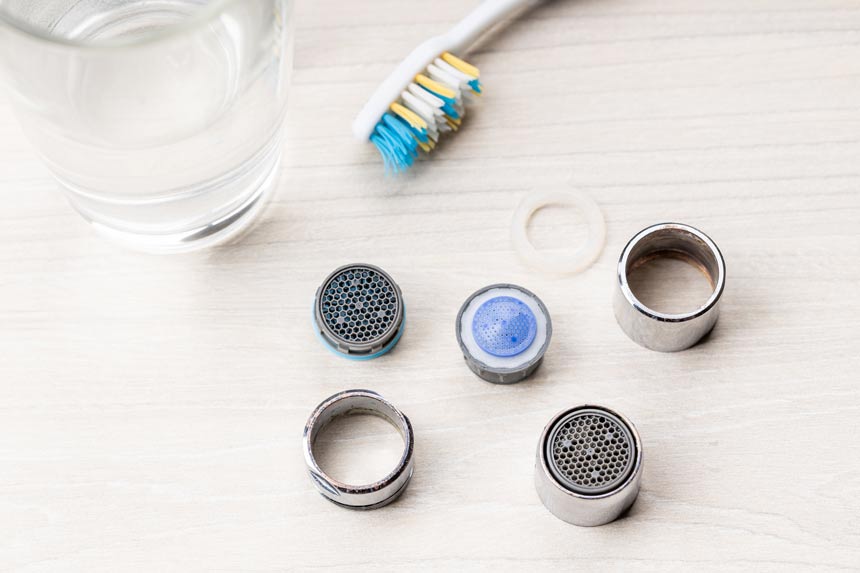
Remove the tap aerator, turn on the faucet and run the hot and cold-water lines. This allows any trapped sediment to escape from faucets and pipes. Place a strainer or washcloth in the drain to catch the residue so it doesn’t go down the drain and contribute to further clogs. Severely clogged aerators can leave large mineral deposits, so try running an old toothbrush gently inside the faucet spout to make sure nothing is left in the way of faucet adjustment. If there is mineral buildup, carefully comb the threads on the spout.
Step 3: Attach the Aerator
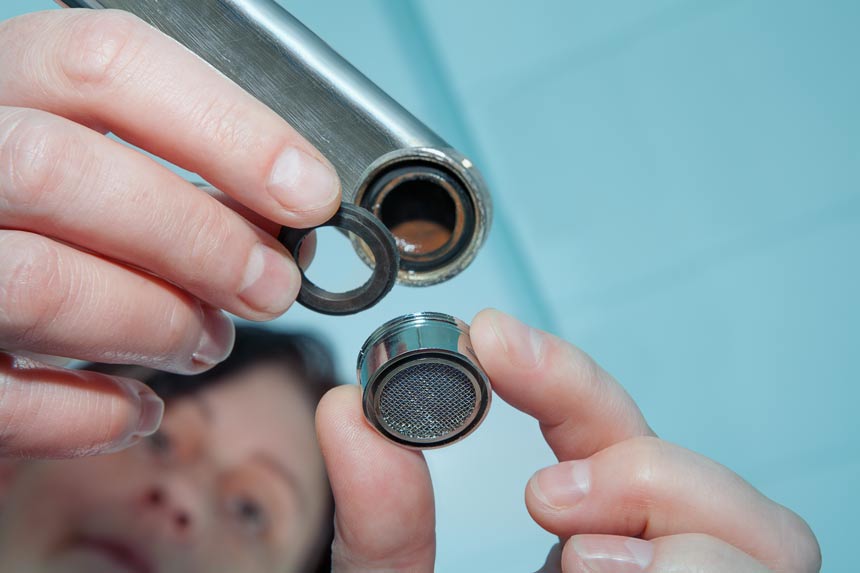
Discard the old aerator and throw it away. Fit the faucet neck with the threads facing up. Carefully place the new aerator on the collar. Make sure the aerator’s mesh end is pointed downward. Now, it’s time for water tap aerator insert. Firmly insert water tap aerator into the collar. Once the new aerator is in place, open the faucets to confirm that the new flow is strong and steady.

Step 4: Install the Aerator Gasket
Ensure you place the aerator gasket on top of the tap. Place the aerator seal over the aerator in the faucet collar.
Step 5: Tighten the New Aerator
Use your fingers to firmly tighten your new aerator. Check the water flow by opening the faucet slightly. If you notice leaks around the aerator threads, tighten the aerator gently with pliers with protective rubber coating. To protect the finish, you can also tape the ends of your faucet and aerator.
If you continue to experience an issue with your water pressure, contact us at Proplumber.Uk and take advantage of our experience.
Conclusion
Summing up, with this guide explaining how to remove and replace the faucet aerator, you will no longer have to endure the trouble of slow and uneven water flow. If you feel that you are not up to the task, you can hire a professional plumber. If you are having trouble with faucet flow or you have an issue with your kitchen or bathroom faucet aerator, do not hesitate to contact our experts to help you in general plumbing service.
How useful was this post?
Click on a star to rate it!
Average rating / 5. Vote count:
No votes so far! Be the first to rate this post.


