Having an outside tap always comes in handy for times when you want to water your plants in the garden, clean your garden, fill the pool or wash your car. That’s why I personally think having an outdoor tap is a must for houses with gardens; however, not all houses are equipped with an outside tap. So, if you’re fond of outside taps but don’t know how to fix one in your garden, keep reading this article. There’s no need to worry about it as it can be easily solved. For fitting an outside tap, you won’t need the assistance of a professional plumber. Once you know the right tools and materials to do the work, fitting an outside tap is a straightforward job and can be done at home with ease. In this article, we’ll provide you with step-by-step DIY tips and strategies to install your very own outdoor tap, instead of doing outside tap service by an expert So, let’s get started right away:
Before starting the outside tap fitting process, there’s a point that you should consider. For having a higher water pressure in your outdoor tap, you’ll have to locate the mains water, which is 95% of the time, in the cold tap of your kitchen sink. So, for fitting an outside tap with a high-water pressure, make sure you install it on the outside of your kitchen. Another point that is worth mentioning and paying attention is the height of the outside tap. Before fitting the outside tap, ensure that the tap is at least 50 cm above the ground, so that you can easily place a bucket or anything else under it in case of a need. Without further ado, here are the four useful steps in fitting an outside tap:
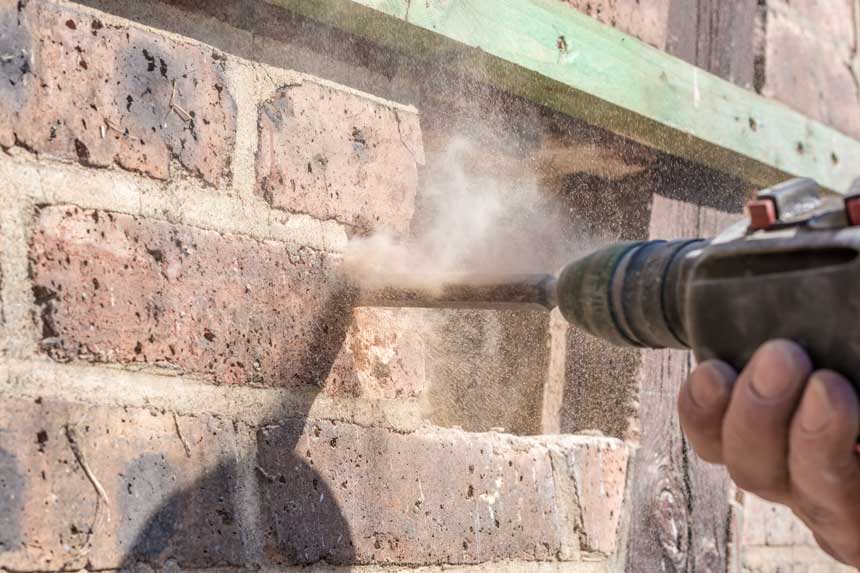
Step 1: Drill a hole into the outdoor wall
The first step in outdoor tap fitting is turning off the water supply. Make sure you shut down the mains water supply, which is under the kitchen sink. When you turn the water supply off, open the cold tap water until it runs out of water. This step is not really considered as the first step as it’s just a precaution so that you can start the work without damaging your property and housing system. After safety, it’s time to make a hole in the outside wall. Before drilling make sure to get the measurements done as you’ll have to fit your pipe in the wall. Firstly, get a drill bit with the proper size and shape, and fix it to the drill. Next, using the drill, create a hole in the outside wall. Don’t rush in this step and carefully drill into the wall as you wouldn’t want to break the bricks. This step takes a little time, so just take your time and don’t hurry.
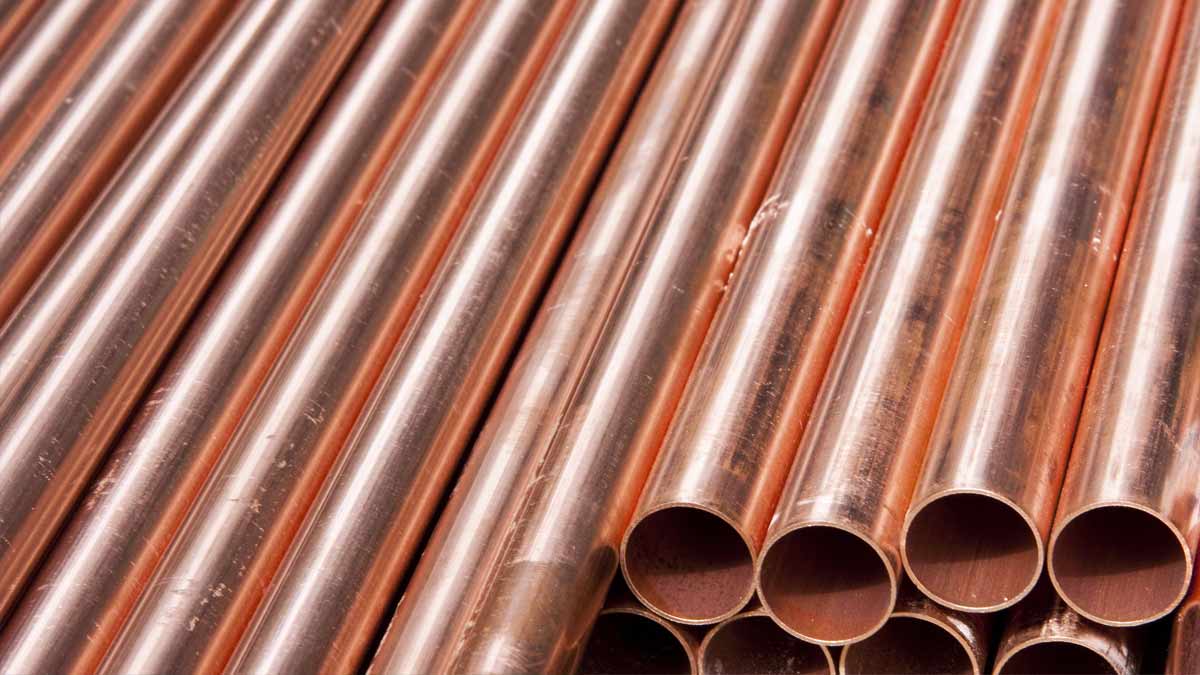
Step 2: The pipework
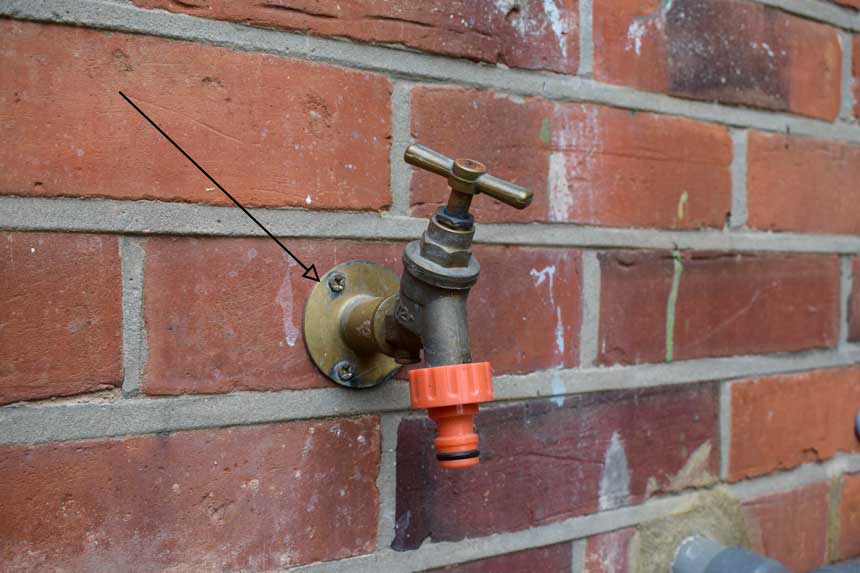
The second step of outdoor tap installation is just as easily as the first part. Run the pipe into the wall and direct it to a backplate. Once the backplate is placed on the wall, using a marker, mark three screw holes on the front part of the wall. Then, remove the backplate and attentively drill the screw holes. When you’re done, put the plugs inside the holes. The plugs should fit evenly on the wall. If needed, you can even make use of a hammer to tighten them to the wall. Insert the backplate pipe on the wall and double-check that there’s a distance between the backplate pipe and the wall. At this stage, form a seal by applying silicone behind the backplate pipe. After that, push the backplate towards the wall until it’s mounted on the wall. Once it’s flat to the wall, place the screws in the screw holes with a screwdriver and clean all the extra silicone left on the tap. The next step is to wrap PTFE tape (also goes by the name of Plumber’s tape and Thread Seal tape) around the pipe threads for 30 times or more if needed to help prevent leaks from joints. Finally, fix it with your hands. You can also fasten it with a spanner if you can’t fix it with your hands.
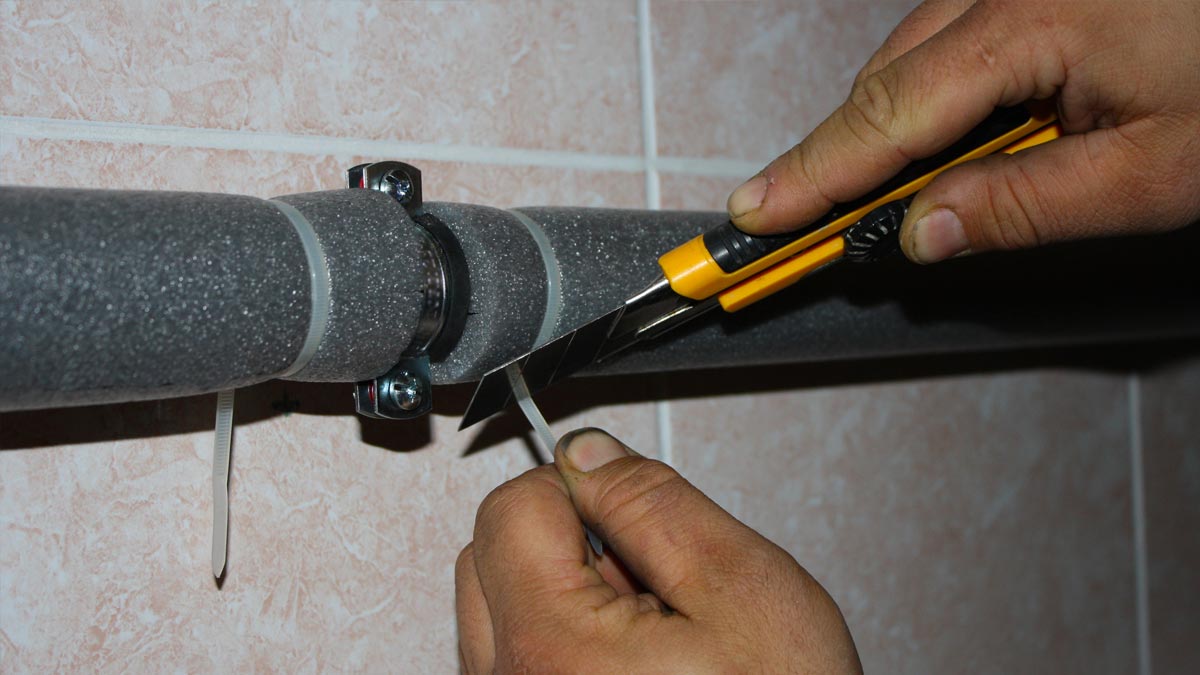
Step 3: Connect the water supply to the outdoor tap
The third step in outside tap installation is connecting the water supply to the outdoor tap. The best way to do this is to add an elbow to the outdoor tap and mount the T-piece of the compression fitting to it. You can do this with a pipe cutter. After that, tighten the compression fitting.
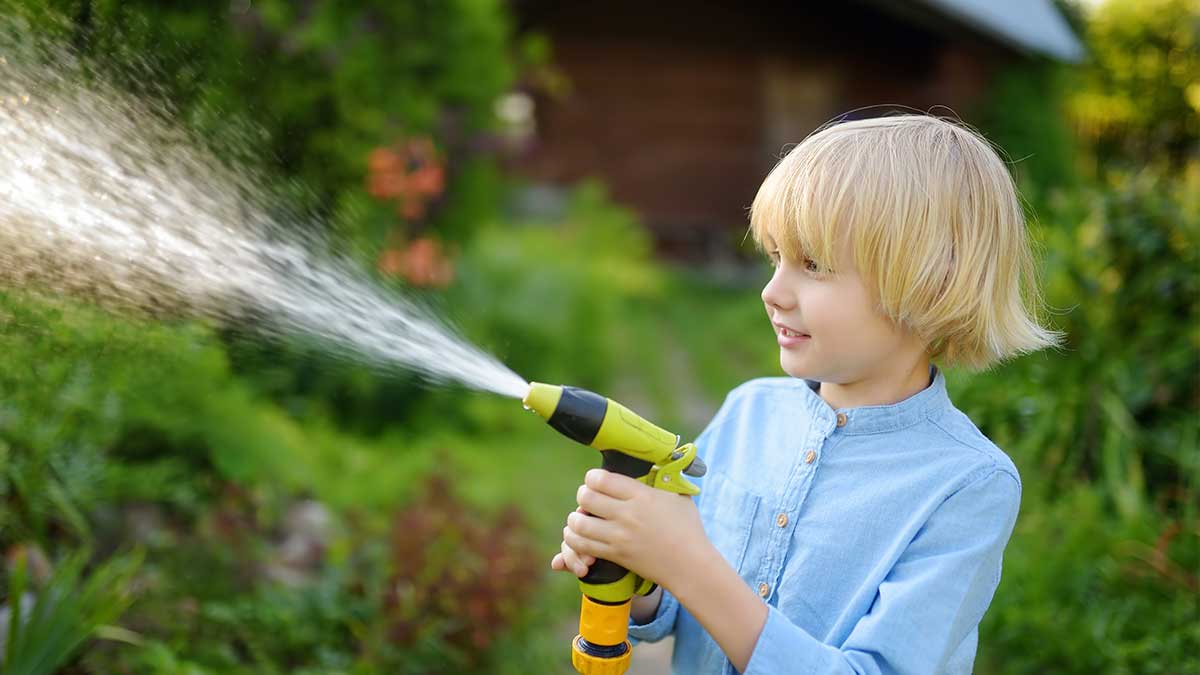
Step 4: Attach a hose to the outside tap
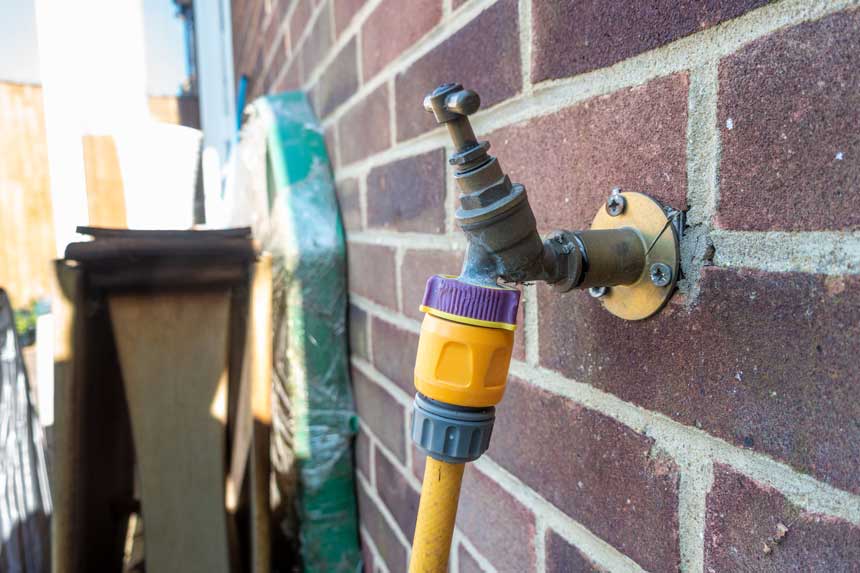
The final step for fitting an outside tap is to attach a garden hose to it. Attach the hose to the outside tap using a hose connector. Doing all of these, the process of fitting an outside tap is over and your outdoor tap is ready to be used in the garden or yard for various occasions.
Wrapping it up
Hopefully, the things we said in this article will be helpful for fitting an outside tap. Overall, we talked about the steps you must follow for fitting an outside tap. As mentioned in the previous part, the task of fitting an outside tap is completed in four steps: first, you have to drill a hole into the outside wall. After that, you should fix the backplate and the tap on the outside wall. The next stage is connecting the water supply and eventually, attaching the garden hose to the outside tap. As you see, the procedure is easy to follow, so you won’t have any problem following the instructions. Whenever you decide on fitting an outside tap, check out our website to do this task effortlessly. But still, if you have doubts about what to do and what not to do about fitting an outside tap or even tap replacement service, get in touch with our team of experts at ProPlumber for further information and assistance. You can visit in person or just place an order on our website, so that our skillful plumbers can guide you all through the way.
How useful was this post?
Click on a star to rate it!
Average rating / 5. Vote count:
No votes so far! Be the first to rate this post.